
Properly preparing the surface, choosing durable tiles, and sealing the grout are essential for a successful shower tile installation. You’ll need to thoroughly clean the area, install a moisture barrier, and select water-resistant tiles. Use the right adhesive, trowel, and grouting tools for a secure, uniform application. Sealing the grout is vital to prevent stains and mold – plan to reapply sealant every 12-18 months. With the right preparation and techniques, you can create a beautiful and long-lasting shower.
Key Takeaways
- Thoroughly clean and prepare the surface, install a moisture barrier, and ensure the wall is stable before tile installation.
- Select durable, water-resistant tiles, such as porcelain or natural stone, that are rated for wet areas and have good slip-resistance.
- Use the appropriate tile adhesive (mastic or thinset mortar) and a notched trowel for even application, and have a tile cutter ready for trimming.
- Choose the right grout (sanded, unsanded, or epoxy) based on gap width, and apply it uniformly to fill the spaces between tiles.
- Seal the grout to prevent moisture penetration and mold growth, and maintain the tile and grout with gentle cleaning techniques and periodic re-sealing.
Preparing the Surface for Tile Installation
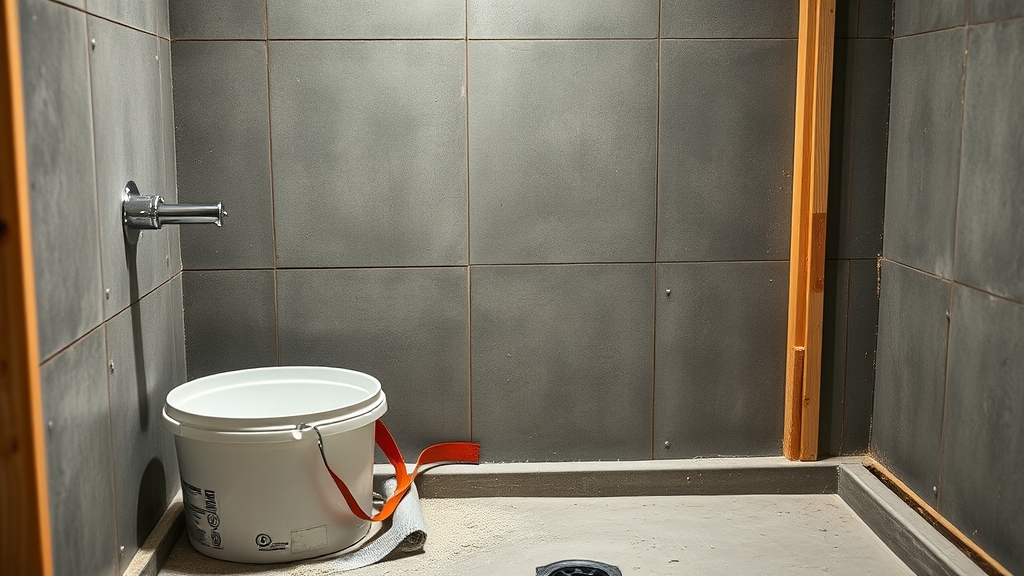
Properly preparing the surface is the first essential step in successfully installing shower tiles. Start by thoroughly cleaning the surface, using appropriate techniques to remove any dirt, grease, or other contaminants. This will guarantee a clean, stable base for the tiles.
Next, consider installing a moisture barrier to protect the wall behind the tiles from water damage. A quality barrier, like a waterproof membrane or foam board, will create a reliable separation between the tiles and the underlying structure.
Take the time to do this right – it’ll pay off down the line by preventing costly issues like mold, mildew, and leaks. With the surface properly prepared, you’re now ready to begin the tile installation process.
Selecting the Right Tiles and Materials
Selecting the right tiles is essential for a successful shower installation.
Look for durable, water-resistant tiles that can withstand moisture and frequent use.
Don’t forget to gather the necessary installation supplies, such as thinset mortar, grout, and a tile cutter, to guarantee a professional-looking finish.
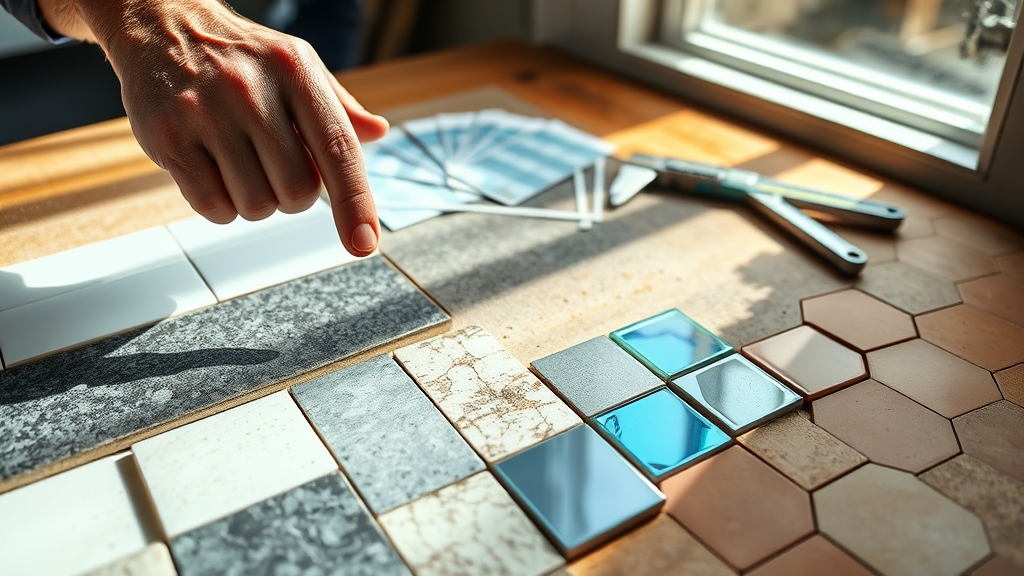
Choosing Durable Tiles
When choosing tiles for your shower, it’s crucial to select durable materials that can withstand the constant exposure to moisture.
Consider the following tile types:
- Porcelain tiles: These are highly water-resistant, making them an excellent choice for shower floors and walls.
- Natural stone tiles: Options like granite, marble, and slate offer a luxurious aesthetic, but require more maintenance.
- Ceramic tiles: A budget-friendly option, ceramic tiles are durable and available in a wide range of colors and patterns to suit your aesthetic considerations.
Regardless of the tile type, verify the material is rated for use in wet areas and has a high slip-resistance rating for safety.
Necessary Installation Supplies
With the right tiles and materials, you can guarantee a successful shower tile installation.
You’ll need tile adhesive – either a mastic or thinset mortar – to securely adhere the tiles to the wall. Opt for a flexible, water-resistant formula.
Additionally, you’ll require a notched trowel to spread the adhesive evenly. Invest in a tile cutter to trim pieces as needed.
A grout float helps you apply and smooth the grout between the tiles. Don’t forget a rubber mallet to gently tap tiles into place.
With the proper installation tools and supplies, you’ll create a beautiful, long-lasting shower.
Laying the Tiles and Grouting
Applying the mortar properly is essential.
Use a notched trowel to spread it evenly across the surface.
Next, carefully place the tiles, pressing them firmly into the mortar and aligning them with your guidelines.
Mortar Application Technique
Once you’ve prepared the surface, it’s time to begin the tile installation process. The key to successful tile adhesion is proper mortar application.
Here are three important steps to guarantee a seamless and secure tile installation:
- Achieve the right mortar consistency. The mortar should have a smooth, spreadable texture, not too dry or too wet. Add water as needed to reach the desired consistency.
- Use the correct trowel technique. Apply a generous, even layer of mortar to the surface, then comb through it with a notched trowel. This will create uniform ridges to help the tiles adhere properly.
- Carefully press the tiles into the mortar, guaranteeing full contact and even spacing.
With the right mortar application, your tiles will be securely in place, ready for grouting.
Grout Application Process
Now that you’ve properly applied the mortar, it’s time to start laying the tiles. Once they’re in place, you’ll need to grout the gaps between them. There are several grout types to choose from, including sanded, unsanded, and epoxy. Each has its own advantages and disadvantages. Sanded grout is best for wider grout lines, while unsanded works well for narrow gaps. Epoxy grout is the most durable but also the most difficult to work with.
| Grout Type | Application | Appearance | Durability |
| Sanded | Wide Gaps | Textured | Moderate |
| Unsanded | Narrow Gaps | Smooth | Moderate |
| Epoxy | Any Gap | Glossy | High |
When selecting a grout color, consider how it will complement the tile and overall shower design.
Sealing the Grout
Although grout can protect the tiles from moisture and stains, it’s still susceptible to deterioration over time.
Sealing the grout is an important step in ensuring the longevity of your shower tile installation. Here are three key reasons why you should seal the grout:
- Waterproofing: Grout sealer acts as a barrier, preventing water from penetrating the grout and causing mold, mildew, or even structural damage.
- Stain Resistance: Sealed grout is much easier to clean and maintain, as it’s less prone to discoloration from soap scum, hard water, or other household contaminants.
- Durability: A well-sealed grout line will be more resistant to cracking, crumbling, or breaking down over time, keeping your shower looking like new for years to come.
Proper grout sealing, combined with other waterproofing techniques, is essential for maintaining a beautiful and long-lasting shower tile installation.
Maintaining the Shower Tiles
Maintaining the shower tiles goes hand-in-hand with sealing the grout. Regular cleaning and proper maintenance are key to keeping your tiles looking their best.
Start by using gentle cleaning techniques, like a soft-bristled brush and a mild, pH-neutral cleaner. Avoid harsh chemicals or abrasive scrubbers, as they can damage the tile surface.
Use gentle cleaning techniques with a soft-bristled brush and mild, pH-neutral cleaner to avoid damaging the tile surface.
Once a week, give your tiles a quick wipe-down to remove any soap scum or water spots. For deeper cleaning, mix a solution of warm water and mild detergent, then use a sponge or cloth to gently scrub the tiles. Rinse thoroughly and dry with a clean towel.
Protect your investment by re-sealing the grout every 12-18 months. This helps prevent staining and discoloration.
With proper tile maintenance, your shower will stay fresh and beautiful for years to come.
Common Challenges and Solutions
While tackling shower tile installation, you may encounter common challenges, but there are solutions to address them. One of the biggest issues is getting the tile layout right. Make certain to plan the pattern carefully, account for cuts, and verify the tiles are level and aligned.
Another common mistake is improper waterproofing. Confirm the subfloor is properly prepared and use the right waterproofing membrane to prevent leaks.
Finally, dealing with tricky corners and edges can be a hassle. Use edge trim or grout to create a clean, professional look.
Frequently Asked Questions
How Long Does the Entire Shower Tile Installation Process Take?
The entire shower tile installation process typically takes 1-2 weeks, depending on the project size and complexity. It involves several phases like surface preparation, tile layout, grouting, and sealing, each requiring time and care for a quality finish.
Can I Install the Tiles Myself or Should I Hire a Professional?
You can DIY shower tile installation, but a professional offers benefits like precision, expertise, and warranty coverage. Consider your skills and available time – DIY can save money, but a pro may deliver better long-term results.
What Is the Average Cost for a Shower Tile Installation Project?
The average cost for a shower tile installation project ranges from $1,500 to $5,000, depending on the tile material you choose and preparation tips like waterproofing. Hiring a professional installer is recommended for best results.
How Often Do I Need to Reseal the Grout in My Shower?
You should reseal your shower’s grout every 1-3 years to maintain water resistance. Use silicone-based sealing products designed for grout and follow the instructions carefully for best results. Proper grout maintenance will keep your shower looking its best.
Can I Use the Shower Right After the Tiles Are Installed?
You shouldn’t use the shower right after the tiles are installed. The tiles need time to properly dry and cure, typically 24-72 hours, before the shower can be safely used. Following the installation timeline is essential for ensuring a long-lasting, watertight shower.
Final Thoughts
A successful shower tile installation hinges on careful preparation, smart material choices, and proper execution. From cleaning and stabilizing the substrate to selecting durable, water-resistant tiles and applying mortar and grout correctly, every step influences long-term performance. Sealing the grout and maintaining the surface with gentle, regular care helps prevent moisture intrusion, staining, and mold—ensuring your shower stays beautiful and functional for years to come. With the right techniques and attention to detail, homeowners can transform a basic shower into a polished, long-lasting feature.
If you prefer expert precision and a worry-free installation, trust Dallas Tile Installers—your local specialists in premium shower and bathroom tile craftsmanship. Whether you’re planning a full shower tile installation, a complete bathroom tile upgrade, or a custom design that enhances durability and style, our team ensures flawless results from prep to final seal.
Explore our complete services, learn more about us, or schedule your consultation through our contact page today.
Elevate your bathroom with expert craftsmanship — one tile at a time — with Dallas Tile Installers.